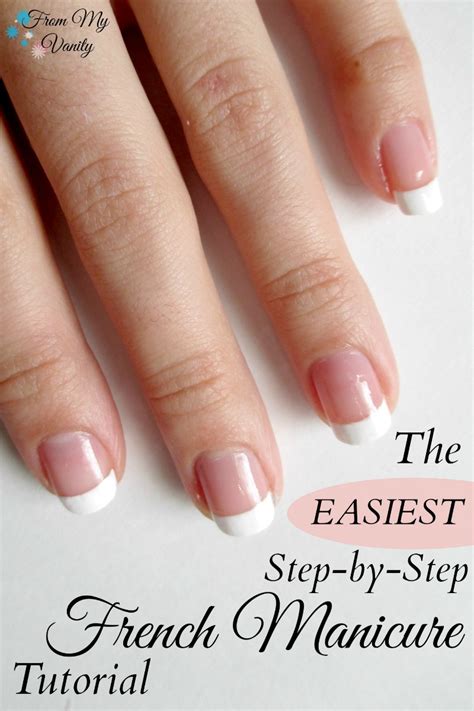
Learn how to master the art of French tip nails with our step-by-step guide, including choosing the right tools and perfecting the finishing touches.
Gathering the right tools
Before you begin your at-home French tips manicure, it’s important to make sure you have all the tools you’ll need. This will ensure that the process goes smoothly and that you achieve professional-looking results. First and foremost, you’ll need a good quality set of nail clippers and a nail file to shape and smooth your nails. Additionally, invest in a high-quality nail polish remover to ensure your nails are clean and ready for polish. It’s also important to have a set of nail brushes and dotting tools for precise application, as well as a fine-tip nail art brush for creating the perfect smile line.
Don’t forget to gather all the materials you’ll need as well. This includes a high-quality base coat and topcoat, as well as a white nail polish specifically designed for French tips. Consider investing in a set of nail guides for precision application, as well as a nail polish corrector pen for easy touch-ups. Finally, make sure you have a good quality cuticle cream and moisturizing lotion to keep your hands and nails healthy and hydrated throughout the process.
By gathering the right tools and materials before you start, you’ll set yourself up for success and make the at-home French tip manicure process much easier and more enjoyable. Remember, having the right tools at your disposal can make all the difference in achieving beautiful, salon-worthy results.
Preparing the nails
How to Achieve the Perfect French Tips at Home
Before you start creating the perfect French tips, it’s essential to prepare your nails properly. Begin by removing any existing nail polish using a gentle nail polish remover. This will ensure that your nails are clean and free from any residue, allowing the new polish to adhere properly.
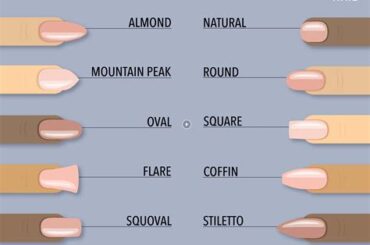
Next, trim and shape your nails to your desired length and style. Use a nail clipper to trim your nails, and then use a nail file to shape them. Whether you prefer a square, round, or almond shape, it’s important to create a smooth and even surface for the polish to be applied.
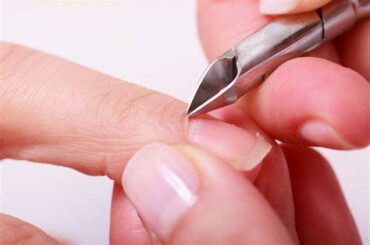
Finally, gently push back your cuticles using a cuticle pusher or orangewood stick. This will create a clean and neat base for your French tips, allowing for a more professional and polished finish.
Choosing the perfect base color
When it comes to achieving the perfect French tips at home, choosing the perfect base color is crucial. The base color sets the tone for the entire nail design and can greatly influence the end result. Whether you prefer a classic, understated look or want to experiment with bold and vibrant hues, the base color you choose will play a key role in achieving the desired effect.
When selecting a base color for your French tips, consider your skin tone and personal style. If you have fair skin, light pastel shades like soft pink or baby blue can create a feminine and delicate appearance. For those with medium to olive skin tones, neutral shades like nude or taupe can complement the natural undertones of the skin. If you have a darker complexion, rich jewel tones like emerald green or sapphire blue can add a striking contrast to your French tips.
Additionally, the season and occasion can also influence your choice of base color. For a fresh and summery look, opt for bright and cheerful shades like coral or sunshine yellow. In contrast, deep and moody colors like burgundy or navy can be perfect for a sophisticated and elegant winter nail look. Consider the overall aesthetic you want to achieve and let that guide your decision when choosing the perfect base color for your French tips.
Using guides for precision
Using guides for precision
When aiming for the perfect French tips, using guides for precision is essential. These guides help to create clean and straight lines, ensuring that the white tip polish is evenly applied. Whether you choose to use pre-made guides or create your own using tape, they act as a barrier to prevent any mistakes or smudges.
Applying the guides with a steady hand is crucial to achieving a professional-looking result. Take your time to position them correctly, making sure they are parallel and symmetrical on all nails. This step is the key to achieving the precision necessary for flawless French tips.
Once the white tip polish has been applied and dried, carefully peel off the guides to reveal the clean and precise lines. Any touch-ups can be made with a small brush dipped in nail polish remover, ensuring that the edges are sharp and well-defined. Using guides for precision is a game-changer when it comes to achieving the perfect French tips at home.
Applying the white tip polish
When it comes to achieving the perfect French tips at home, applying the white tip polish is a crucial step in the process. Before starting, make sure you have gathered all the right tools, such as nail polish remover, cotton balls, base coat, white tip polish, topcoat, and nail guides. Preparing the nails by shaping and buffing them will ensure a smooth canvas for the polish application.
Once the nails are prepped, it’s time to apply the white tip polish. Using guides for precision can help create a clean and even line. Start by carefully painting the white polish onto the tips of the nails, using steady and controlled movements. If needed, you can use a thin brush dipped in nail polish remover to clean up any mistakes or smudges.
After the white tip polish has been applied and has dried completely, seal the tips with a topcoat to protect the design and add a glossy finish. By following these steps and taking your time, you can achieve professional-looking French tips right from the comfort of your own home.
Perfecting the smile line
When it comes to achieving the perfect French tips at home, one of the most crucial steps is perfecting the smile line. This is the part of the nail where the white tip meets the natural nail bed, and getting it right can make all the difference in achieving a professional-looking manicure.
One of the best tips for perfecting the smile line is to use guides for precision. You can easily find French tip guides at beauty supply stores or online. These guides are placed at the edge of the nail to help create a clean, crisp smile line with ease.
In addition to using guides, it’s important to have a steady hand and take your time when applying the white tip polish. Make sure to start with a small amount of polish and gradually build it up to achieve the desired shape of the smile line. Practice makes perfect, so don’t be discouraged if it takes a few tries to get it just right!
Sealing the tips with topcoat
After you have applied the white tip polish and perfected the smile line, the next step in achieving the perfect French tips is sealing the tips with topcoat. This final step is crucial in ensuring that your French tips last longer and maintain their pristine appearance.
Once you have finished applying the white tip polish, allow it to dry completely before proceeding with the topcoat. Using a high-quality topcoat is essential to achieving a professional-looking finish. A topcoat not only enhances the shine of your French tips, but also provides a protective layer that helps prevent chipping and fading.
When applying the topcoat, be sure to cover the entire nail and seal the edges of the white tip polish to prevent any premature wear. Allow the topcoat to dry completely before handling any objects or applying pressure to your nails to ensure a long-lasting and flawless finish.
Adding finishing touches
Adding finishing touches
Once you have completed the previous steps of gathering the right tools, preparing the nails, choosing the perfect base color, using guides for precision, applying the white tip polish, perfecting the smile line, and sealing the tips with topcoat, it’s time to put the finishing touches on your French manicure.
One important step in this process is to carefully clean up any smudges or mistakes around the nails. Use a small brush dipped in acetone to gently remove any excess polish and create clean, crisp lines. This attention to detail will elevate the overall look of your French tips and give them a professional finish.
Additionally, consider adding a topcoat with a subtle shimmer or a touch of glitter to add a bit of sparkle to your French manicure. This final touch not only adds a touch of glamour, but also helps to protect your nails and prolong the life of your manicure.
Maintaining the French tips
Once you have achieved the perfect French tips, it is important to maintain them so that they last as long as possible. One key tip for maintaining French tips is to avoid exposing your nails to harsh chemicals or cleaning agents. These can cause the tips to chip and wear away much faster than they would otherwise. Be sure to wear gloves when cleaning or doing dishes to protect your manicure.
Another important step in maintaining French tips is to apply a fresh layer of topcoat every few days. This not only helps to seal and protect the tips, but it also adds a glossy shine that will keep your manicure looking fresh and new. Additionally, gently file the tips every week to keep them smooth and free of any rough edges that could lead to chipping.
Lastly, moisturizing your nails and cuticles regularly is essential for maintaining French tips. Keeping your nails and cuticles hydrated will help prevent them from becoming dry and brittle, which can lead to chipping and breakage. Using a nourishing cuticle oil or hand cream daily will keep your manicure looking fabulous for weeks to come.


